Getting Started
Setting up FreeCAD
FreeCAD of course has its own documentation, which should be your first point of call for any trouble shooting of this program. Here, we provide a basic intro into setting up and configuring freeCAD so that you can build your first phantom.
Download FreeCAD. This code was developed and tested with version 0.19. Future versions should work, but if you run into issues go with version 0.19
Open FreeCAD
In “View” “panels” enable both the python console and the report view. This isn’t required, but in my opinion tends to make life easier!
After these steps, you should have something that looks like the image below, and are ready to generate your first phantom!
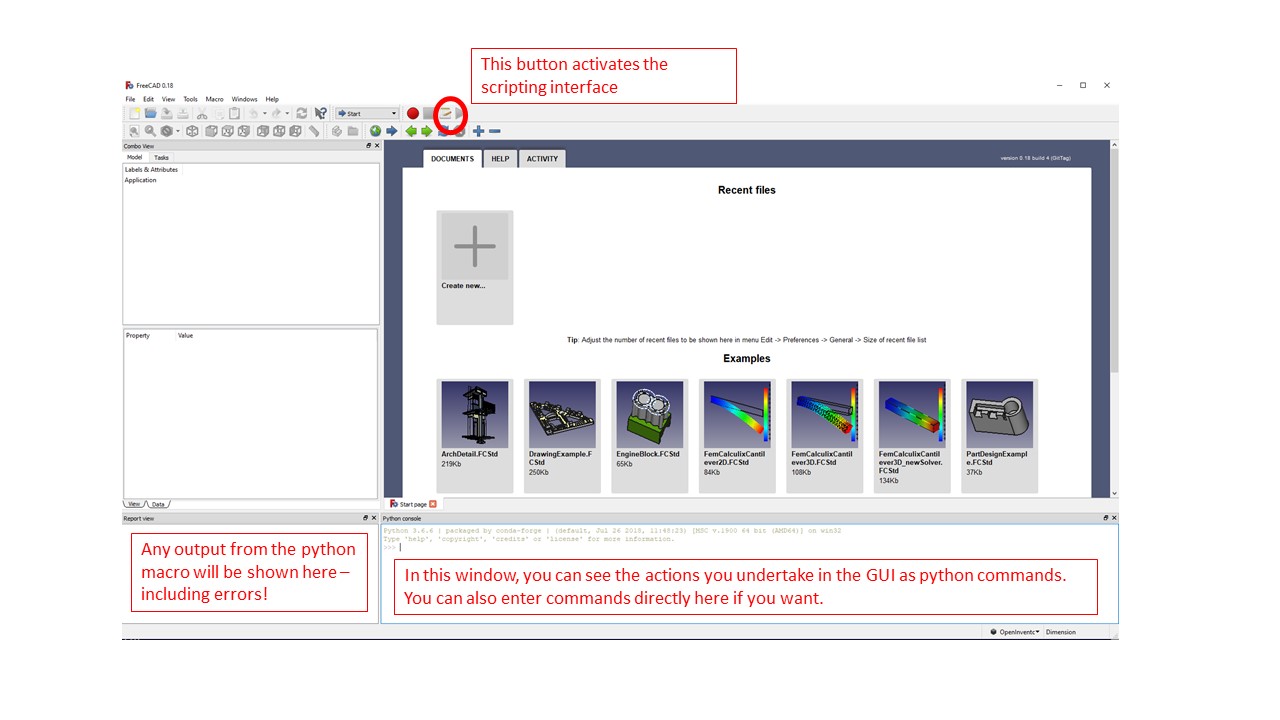
Generating your first phantom design
Open the scripting interface using the button in the top right in the figure above (or through the menus, click macro, macros)
Navigate to wherever you cloned this repository and choose the phantom_designs folder
Execute phantom_template.py as a macro (or any of the other designs)
That’s it! you can open up the FoamPrototypeExample.py script to see exactly what it’s doing, and you can read the section on customizing the phantom to change this basic design to your hearts desire.